Computer Graphics OpenGL project
1. The OpenGL framework
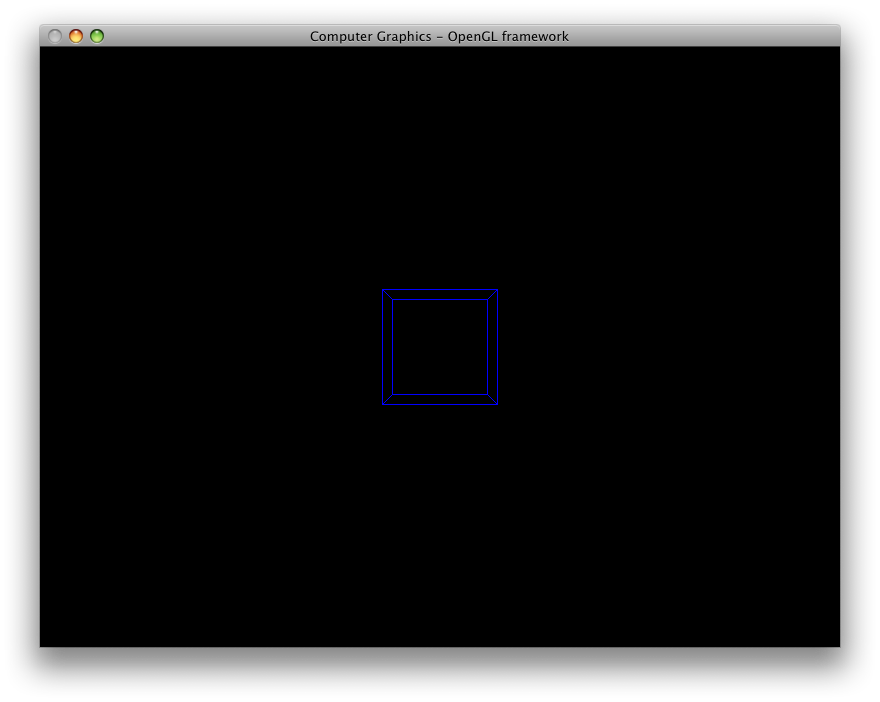
Download the file OpenGLFramework.zip. It contains one single source file (openglframework.c) and build files for different platforms (Makefile for Linux/Unix/Mac OS X and a project file for Windows). Try to compile and run it. A window showing a wireframe cube should appear.
2. Transformations and viewing interaction
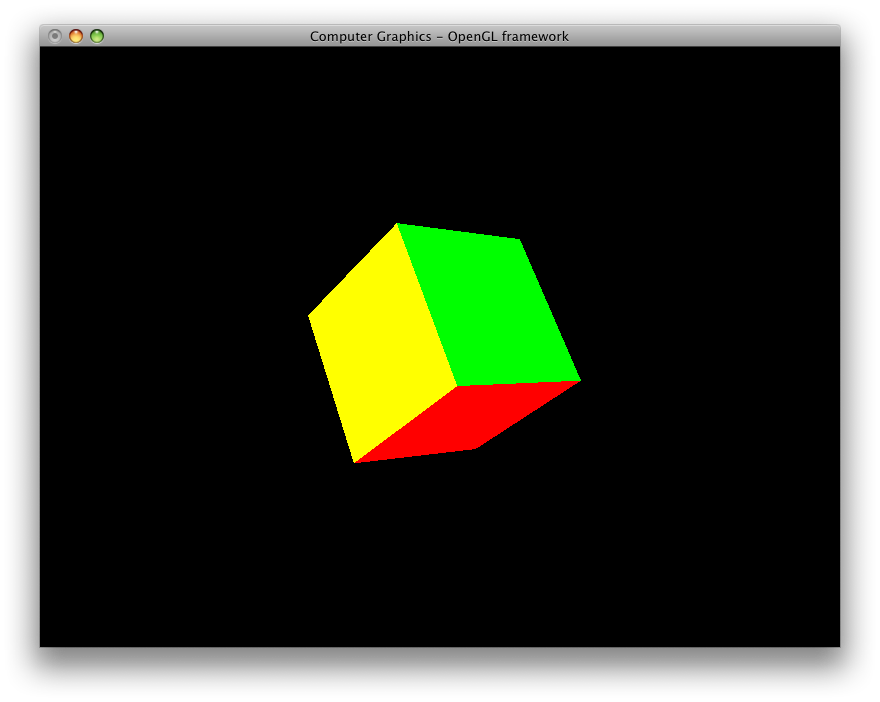
- Replace the wireframe cube with a cube modeled by triangles or quads. Let each of the 6 faces have a different color. Make sure a depth buffer is used. You can do this by changing the line with
glutInitDisplayMode to glutInitDisplayMode(GLUT_DOUBLE | GLUT_RGB | GLUT_DEPTH); , changing glClear(GL_COLOR_BUFFER_BIT); to glClear(GL_COLOR_BUFFER_BIT|GL_DEPTH_BUFFER_BIT); and putting glEnable(GL_DEPTH_TEST); somewhere in the initialization part of your code (after creation of the window).
- Add a simple viewing interaction capabilities to your program. The user should be able to rotate the scene and zoom in/out (for example holding ctrl while moving the mouse).
- Read documentation on how to use GLUT's mouse and motion callback functions. To determine the state of keyboard modifier keys like alt and ctrl, you can use the function
glutGetModifiers() (documentation).
- Implement simple rotation interaction. You can use the following procedure as a guideline:
- Using the
mouse() and motion() callback functions you can determine how much the mouse has moved since the last button press.
- Use the difference between the mouse position of the last button press and the current mouse position to obtain two rotation angles (experimentally determine a factor to scale this value).
- Make sure the user can continue rotating after releasing the mouse button.
- First rotate up ad then to the sides (or the other way around) to notice the downside of this approach.
- Implement zooming (the easiest way is to use the
fovy argument of the gluPerspective() call).
- (Bonus) Implement a better virtual trackball. You can use this as a starting point.
- (Bonus) Add panning.
- (Bonus) Implement FPS-like interaction (i.e., WASD for navigating, mouse for looking around).

3. Lights
Add two lights to your OpenGL scene. One light should follow the camera viewpoint and the other light should stay fixed while moving through the scene. Include the ability to turn a light on and off using the keyboard. See chapter 5 of the OpenGL Red Book for more information on how to use OpenGL lighting.
4. Vertex arrays and 3D meshes
The next step in creating a more interesting scene will be adding 3D models (meshes). We will provide you the code for reading in 3D models (glm.c and glm.h). These two files come from the GLUT examples by Nate Robins and besides code for reading and writing Wavefront OBJ files, these files also contain code code generating smooth normals and drawing the model. The drawing code however uses the old-fashioned immediate mode (glBegin/glEnd pairs) and your task is to modernize this to use Vertex Arrays and vertex buffer objects (VBOs).
The suggested steps to take:
- Read documentation on Vertex Arrays and VBOs in the Red Book or online (such as here, here, here, and here).
- Add the files
glm.c and glm.h to your project and modify your Makefile such that this code is compiled and linked to the executable (here is an example of a modified Makefile).
- Add
#include "glm.h" to your source file.
- Look at the code in the
glmDraw() function (in glm.c to see how the data is organized in the GLMmodel data structure (see also the glm.h file).
- You can test whether reading the OBJ file works by adding a call to
glmDraw() to your display() function.
- Decide how to (re)organize the data of the 3D model such that it can be stored on the GPU using VBOs.
- Create a function
glmDrawVA() that draws the object using Vertex Arrays. Keep it simple, leave out the material setting parts (i.e., don't use the groups, just draw all triangles).
- Create a function
glmDrawVABO() that draws the object using Vertex Arrays stored in Buffer Objects.
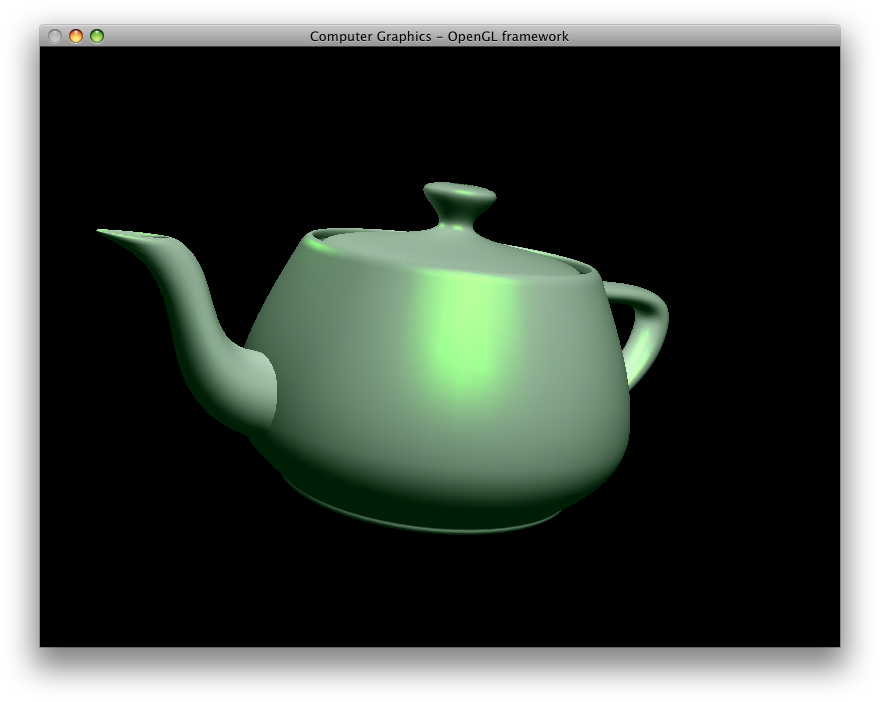
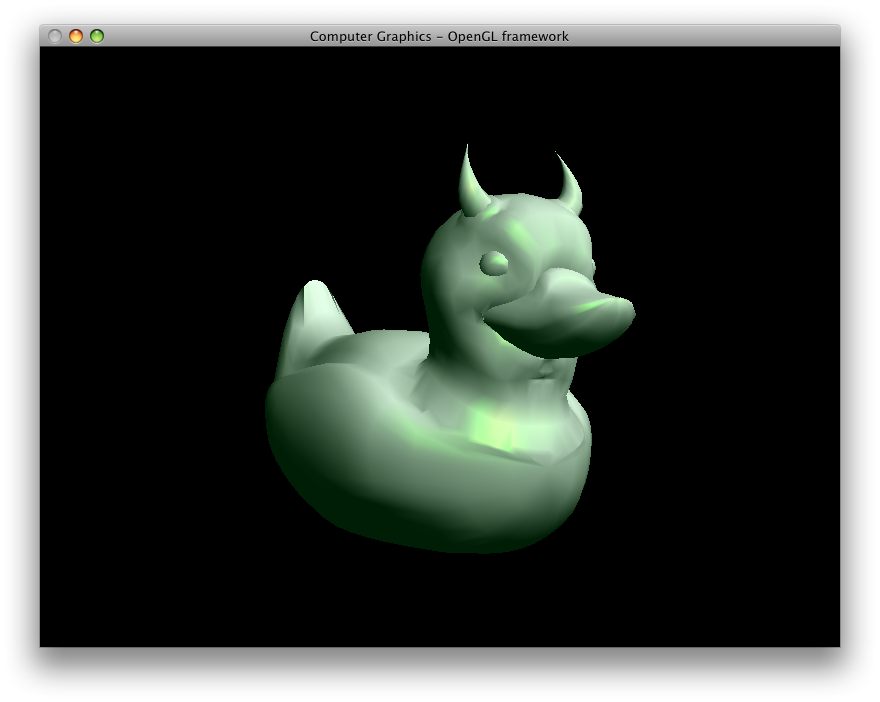
- Try some OBJ models. Some example models: obj.zip. More OBJ files can be found at INRIA's 3D Meshes Research Database. You can use MeshLab to view and convert models you find there. Feel free to create or modify models yourself using, for example, Blender.
5. Phong shading with GLSL
The OpenGL Shading Language (GLSL) allows for more flexibility in doing computer graphics. In this assignment you will create a very simple shader program that barely scratches the surface of what is possible using GLSL.
The OpenGL Shading Language (GLSL) allows for more flexibility in doing computer graphics. In this assignment you will create a very simple shader program that barely scratches the surface of what is possible using GLSL.
By following the following steps you can add GLSL shader support to your OpenGL program:
          char * text;
          long numChars;
          fseek(fp, 0L, SEEK_END);
          /* Position to end of file */
          numChars = ftell(fp);
          rewind(fp);
          text = (char*)calloc(numChars, sizeof(char));
          fread(text, sizeof(char), numchars, fp);
          printf("%s\n", text);
          return text;
- }
  /* Create shader instance and read source from file system */
  GLuint loadShader(const char * srcPath, GLenum shaderType)
  {
          GLuint shader = glCreateShader(shaderType);
          FILE * fp = fopen(srcPath, "r");
          char * src = readTextFile(fp);
          fclose(fp);
          glShaderSource(shader, 1, &src, NULL);
          free(src);
          return shader;
  }
- Add the following function to your main c-file and call it in your main() function.
void initShader()
{
    	GLuint vertexShader,fragmentShader,glslProgram;
    	vertexShader = loadShader("vertexshader.glsl",GL_VERTEX_SHADER);
    	fragmentShader = loadShader("fragmentshader.glsl",GL_FRAGMENT_SHADER);
    	glCompileShader(vertexShader);
    	glCompileShader(fragmentShader);
    	glslProgram = glCreateProgram();
    	glAttachShader(glslProgram,vertexShader);
    	glAttachShader(glslProgram,fragmentShader);
    	glLinkProgram(glslProgram);
    	glUseProgram(glslProgram);
- }
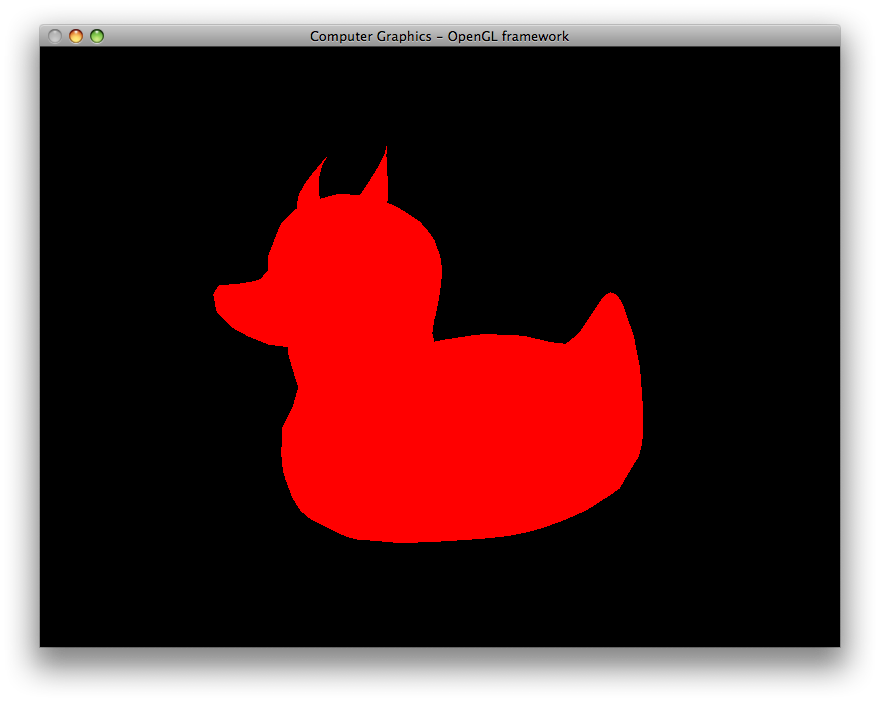
- If all is correct your model (or whatever you are drawing) should be completely red:
- You can now for example with the values used in the fragment shader to see what kind of effect they have.
- We will first change the shaders in such a way that instead of just red, the colors will represent the normals (to get a normal buffer).
- Add the line
varying vec3 tnorm; to the top of both of the shader files.
- In the vertex shader, add
tnorm = 0.5*(normalize(gl_NormalMatrix * gl_Normal) + vec3(1.0)); to the body of the function.
- In the fragment shader, change the single line found in the body of the function to
gl_FragColor = vec4(tnorm,1.0);
- Test whether it works.
- Now change in the vertex shader the line with
tnorm = 0.5*(normalize(gl_NormalMatrix * gl_Normal) + vec3(1.0)); to tnorm = 0.5*(normalize(gl_Normal) + vec3(1.0)); and run your program again. Notice the difference (in particular when rotating your model).
Now that you have your shaders in place, your assignment is to implement Phong shading in the shader, just as you did in the Raytracer assignment. Be aware though whether you do your calcutions in world space or in eye space.
(Bonus) Implement some other interesting effect using GLSL shaders.
Feel free to use GLSL developer tools for developing your shaders (see the Wikipedia GLSL page for links).
6. Alternative illumination models in GLSL
Implement Gooch's illumination model (see the Raytracing project) in a GLSL shader.
7. Texture mapping and animation
In this OpenGL assignment you will do some basic texture mapping and some basic animation. We will give you two options to implement:
- An animated scene with (at least) three bouncing, textured balls of different sizes.
- An animated scene with at least four rotating planets (i.e., textured spheres) orbiting around a center planet or sun.
For texturing the spheres you can use the following step-by-step guide to get started:
- As (to our knowledge)
glutSolidSphere() does not output texture coordinates we will just use the model loading code you already have and a model for a sphere (also note the bonus exercise below). So start from a code base that includes the code for reading in a model and interacting with the scene.
- Instead of your
glmDrawVA() and glmDrawVAVBO() use the provided glmDraw() with the parameter GLM_TEXTURE.
- Call
glmSpheremapTexture() *after* calling glmVertexNormals().
- Add the files
lodepng.c and lodepng.h (origin) to your project and add #include "lodepng.h" to your main c file.
- Add the following function to your c-file:
GLuint initTexture(char* filename)
{
 	   unsigned char* buffer;
 	   unsigned char* image;
 	   size_t buffersize, imagesize, i;
 	   GLuint texName;
 	   LodePNG_Decoder decoder;

 	   LodePNG_loadFile(&buffer, &buffersize, filename);
 	   LodePNG_Decoder_init(&decoder);
 	   decoder.infoRaw.color.colorType = 6; /* Load image as RGBA */
 	   LodePNG_decode(&decoder, &image, &imagesize, buffer, buffersize);
 	   if(decoder.error) {
 	      printf("Error reading in png image: %d\n", decoder.error);
 	      exit(1);
 	   } else {
 	      glPixelStorei(GL_UNPACK_ALIGNMENT,1);
 	      glGenTextures(1,&texName);
 	      glBindTexture(GL_TEXTURE_2D,texName);
 	      glTexParameteri(GL_TEXTURE_2D,GL_TEXTURE_WRAP_S,GL_REPEAT);
 	      glTexParameteri(GL_TEXTURE_2D,GL_TEXTURE_WRAP_T,GL_REPEAT);
 	      glTexParameteri(GL_TEXTURE_2D,GL_TEXTURE_MAG_FILTER,GL_LINEAR);
 	      glTexParameteri(GL_TEXTURE_2D,GL_TEXTURE_MIN_FILTER,GL_LINEAR);
 	      glTexImage2D(GL_TEXTURE_2D,0,GL_RGBA,decoder.infoPng.width,
 	                   decoder.infoPng.height,0, GL_RGBA,GL_UNSIGNED_BYTE,image);
 	   }
 	   return texName;
- }
- Use a global variable (say
GLuint myTexture;) and assign it the outcome of initTexture() somewhere in the initialization phase (e.g., myTexture = initTexture("earth.png");).
- In your display function, before the
glmDraw() call, add the following lines:
  	glEnable(GL_TEXTURE_2D);
  	glTexEnvf(GL_TEXTURE_ENV,GL_TEXTURE_ENV_MODE,GL_REPLACE);
  	glBindTexture(GL_TEXTURE_2D,myTexture);
- And after the
glmDraw() call, add the following line:
glDisable(GL_TEXTURE_2D);
- Now compile and run. If everything is correct, you should see a textured ball. However, you will notice that if you use an "earth" texture that everything appears twice. So if you would like to do the orbiting planets assignment you should change the function
glmSphereMapTexture() (look at your texture-mapping code for the Raytracer).
As for animation, you can use GLUT's idle() function callback for this.
Some other things to try:
- (Bonus) Instead of using the OBJ sphere, write your own sphere function.
- (Bonus) Implement texture mapping using shaders.
- (Bonus) Implement the texture coordinates by adapting your
glmDrawVAVBO() to include texture coordinates besides vertex positions and normals.